Sunday, April 29, 2018

Lots of Progress

I made lots of progress this weekend.

The rules in some organizations require oil retention devices for both the engine and the transmission.  These devices have to be capable of holding the oil if a failure happens and keep it from getting on the track.

My devices are made out of carbon fiber and kevlar to prevent them from tearing up if pieces of engine hit them.

I also recieved the correct length of blower belt so I test fitted it.

The first pictures are of the engine oil retaining device:


The next pictures are of the transmission oil retaining device. It is hard to see in the pictures but it is a shaped piece of carbon that forms a reservoir under the transmission:


The next pictures are of the engine with the blower belt on and the spark plug wires assembled and installed:


Click on the Blog Archive hierarchy on the right hand side to see my posts in order. The ones at the bottom are the newest posts.

Or

Back to Home Page


Fuel Tank, Fittings,Vent, and Cover

I worked today on getting the fuel tank and oil tank mounts finished. I also hooked up the fuel tank pickup, vent line, and return lines.

The last thing I did was cut the carbon fiber tank cover and build brackets to mount it on the car.

It all looks good with the cover on it.


Click on the Blog Archive hierarchy on the right hand side to see my posts in order. The ones at the bottom are the newest posts.

Or

Back to Home Page


Wednesday, April 25, 2018

Oil System

I am still working on brackets, tabs, and other things that require me welding on the frame. I am trying to get all of the frame done so I can remount the body and start building the new set of headers for the Hemi engine. I have to have the body and front end on so I know where the headers will exit the body.

I finished building the mounts for the Clearview oil filter and the dry sump puke tank. I also roughed in the hoses for the oil system.

Now I will start on the fuel system.


Click on the Blog Archive hierarchy on the right hand side to see my posts in order. The ones at the bottom are the newest posts.

Or

Back to Home Page


Monday, April 23, 2018

Weekend at the Spring Nationals

Traci and I spent the weekend at the Spring Nationals in Baytown, Texas watching the pros show everyone how to drag race.

I also got to pick up my blower and injector hat from Mike Janis. Mike is a long time racer who also manufactures, builds, repairs, and modifies blowers, engines and, other race parts. Mike built the Hemi engine that I bought back in February. I left my blower and injector hat with him to do his magic on.

We met Mike and his son Mike Jr. at the track and spent some time with them on Saturday night. They were so nice, great hosts, and very helpful. It is not often that you meet people that you can trust right away. Mike and Mike Jr. are two of those kind of people. I don't usually let anyone touch my stuff but these guys are the best. I have never seen racers of their caliber that are so willing to help a newbie like me. Most people just treat you like you are stupid and take advantage of you.

I know why they are some of the most respected people in the ProMod racing community. I feel a lot more comfortable knowing that I have their support as I fulfill my racing dream!

We were hoping Mike would win the ProMod race but they went out in the second round. The weather was cold and a little weird for our area so a lot of people struggled.

The picture below was taken Friday evening during qualifying. I know it surprises some people that I would turn away from watching fast cars to look at the sky but this was absolutely breathtaking!

God is so amazing with he beautiful things he created for us to enjoy. A sky that looks like it is on fire and engines that shoot flame out of the exhaust 20 feet in the air. It was like heaven on earth!


Here are some pictures of the new modified supercharger and injector hat for my car. Mike has some neat tricks that he does on superchargers to make them help the engine produce significantly more horsepower.


Click on the Blog Archive hierarchy on the right hand side to see my posts in order. The ones at the bottom are the newest posts.

Or

Back to Home Page


Sunday, April 15, 2018

Fire System


I have been working on the fire suppression system and have it almost complete.

I welded the mounting tabs for the bottles. Fabricated a bracket for the master power shutoff air cylinder.

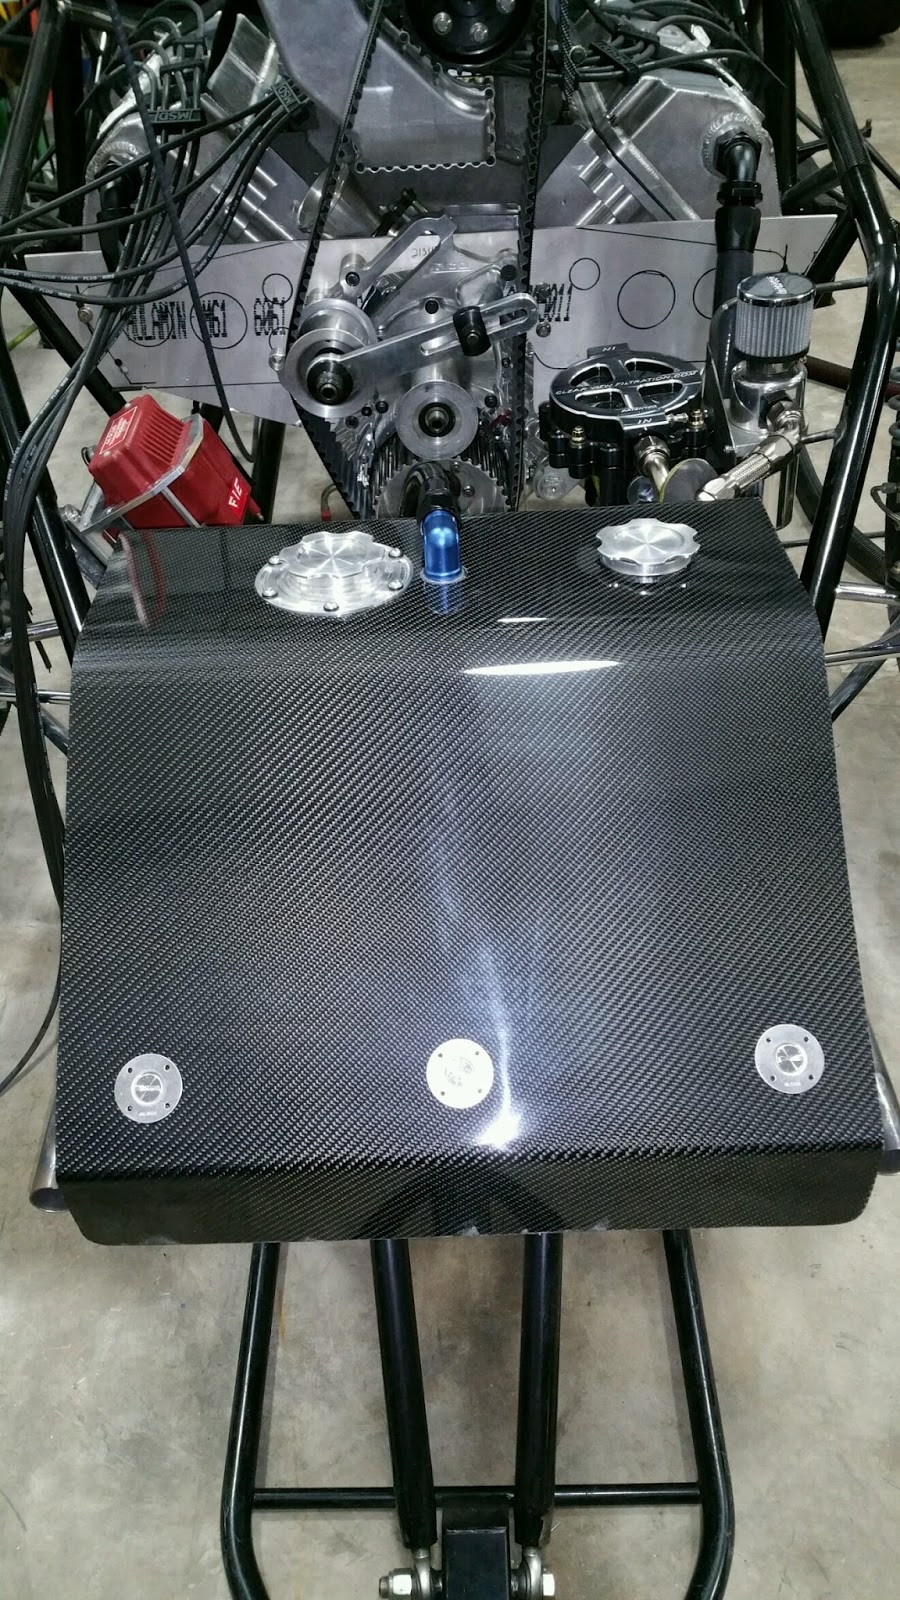
All of the tubing lines are bent and run inside the frame. I had to cut holes in the frame and weld double up plates around the holes to keep from weakening the frame.

Here is how the system works.

If I pull the fire bottle handle, it pulls the trigger cables out of the fire bottle valves.


This allows the plungers to be released, puncturing the seals on the fire bottles. The fire agent flows from the bottles into the line leading to the fire suppression nozzles and to the master power cutoff cylinder.


The fire agent flows from the bottles into the line leading to the fire suppression nozzles and to the master power cutoff cylinder. When the master power cutoff cylinder is pressured up by the extinguishing agent, the shaft on the cylinder strikes the master cutoff switch and pushes it to the off position. This prevents an ignition source from restarting a fire due to a short curcuited wire.


The fire agent also travels around the chassis through the fire suppression loop to extinguish a fire if one occurs. The agent travels from the bottles through a 1/4 inch tubing line down the rear from loop into the main chassis tube on the right side. 


The tubing is run inside the chassis tube to protect it during a crash.


The tubing exits the frame at the front of the chassis on the right side and flows to the first fire suppression nozzle which sprays at the right side of the engine.


The 1/4 inch line continues across the front frame rail to a second nozzle on the left side of the engine.


The 1/4 inch line goes back inside the left frame rail and travels down the frame rail to the driver's compartment. The tubing exits the frame rail and goes to a third nozzle that sprays agent onto the driver to keep him cool and extinguish any fire that enters the driver's compartment. This nozzle is aimed at the drivers feet and legs.


This is another major step forward!!!

Click on the Blog Archive hierarchy on the right hand side to see my posts in order. The ones at the bottom are the newest posts.

Or

Back to Home Page


Tuesday, April 10, 2018

Welding Weekend

I spent this weekend welding up all of the engine mid plate framework, installing the fire suppression linkage/handle, and the parachute linkage/handle.

The original setup was very uncomfortable for to me reach while I was in the fire suit and gloves.

The new setup uses nice large levers made by Tim McCamis. The fire bottles are accessed by just reaching up with my right hand and sliding up the roll bar. You cannot miss the handle to activate the fire system! You definitely want to be able to find the fire bottle handle!

The parachutes are just above my head on the roof. I just reach up and find the v shape in the roll bar and sweep my hand to the left to activate the chutes. You don't want to miss this one either!

My TIG welding is getting much better! with more practice I will get better and better, hopefully!!!

Here are some pictures:

Engine Midplate Frame Loop welded in place

TIG welds are getting better!!!


New Engine Midplate rough machined


It all fits now

Fire Bottle Release Handle


Handle is easy to find and activate!


Parachute Release Handle


It is also easy to reach


Click on the Blog Archive hierarchy on the right hand side to see my posts in order. The ones at the bottom are the newest posts.

Or

Back to Home Page